6 checks to run on a packaging file before it leaves your hands: the dieline, the colours, the smallest type, the barcode, the PDF and the proof.
Print-ready packaging artwork needs 6 things before it goes to the printer: your production partner’s dieline at 100% scale, colours built for the press, mandatory text at a legal size, a barcode made at its final size, a PDF/X file with every font and image inside it, and a signed proof. In the EU, food text needs an x-height of at least 1.2 mm.
What print-ready means
Print-ready artwork is a file your printer can put on press without redrawing it or sending it back with a question. A design can be approved and still fall short of that. The approved design shows what the pack should look like, while the print-ready file tells a machine where to cut and which inks to lay down.
Check 6 things before a packaging file goes to the printer:
- The artwork sits on the production partner’s dieline at 100% scale.
- Every colour is built the way the press will print it.
- The mandatory text is at a size the law in your market accepts.
- The barcode was made at its final size.
- The file is a PDF/X with every font and image inside it.
- A proof has been checked and signed.
We cite 4 bodies below: ISO for the file and the press, GS1 US for the barcode, the European Union for food text and the US Code of Federal Regulations for cosmetic labels. For the 3 ISO standards we rely on the abstracts published on iso.org, and your printer works from the full text. Where the number belongs to your printer, we say so, because bleed, safe area and image resolution change with the press and the material.
The list assumes the structure is already chosen. If you are still deciding, our comparison of custom and stock packaging comes first, since that choice decides whose dieline the artwork is drawn on.
The dieline, bleed and safe area
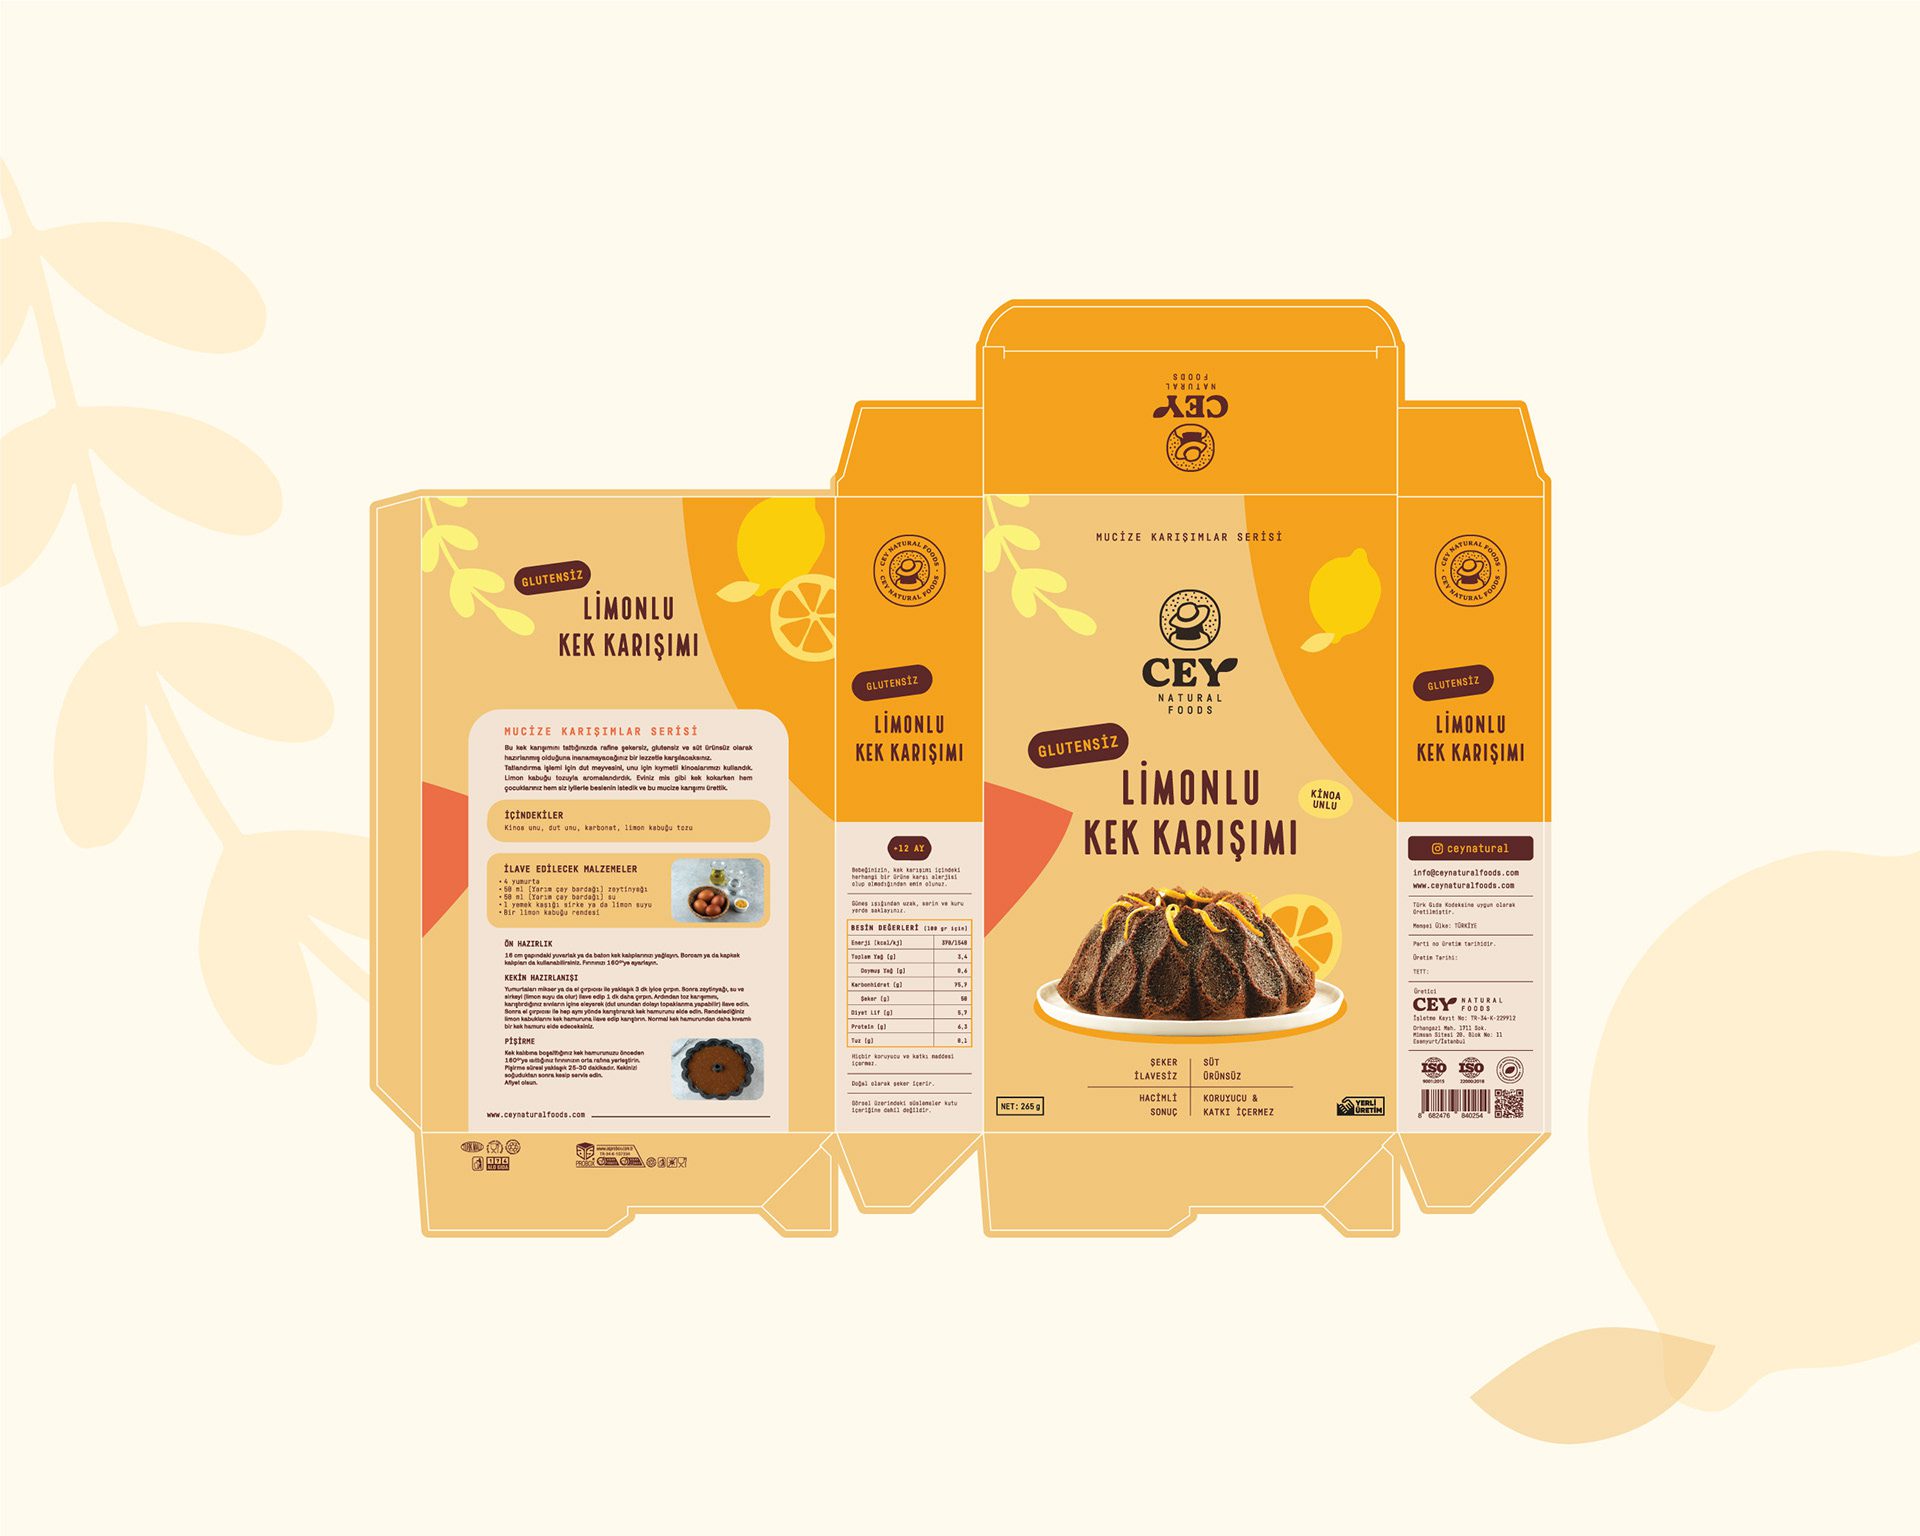
Production artwork starts with a drawing the designer does not make. The dieline, which some printers call a die line or a cutter guide, is the flat outline of the pack with its cut lines, fold lines and glue areas. It comes from the company that will make the pack, because it describes their tooling. Cartons from 2 suppliers can share an outer size and still have different flaps.
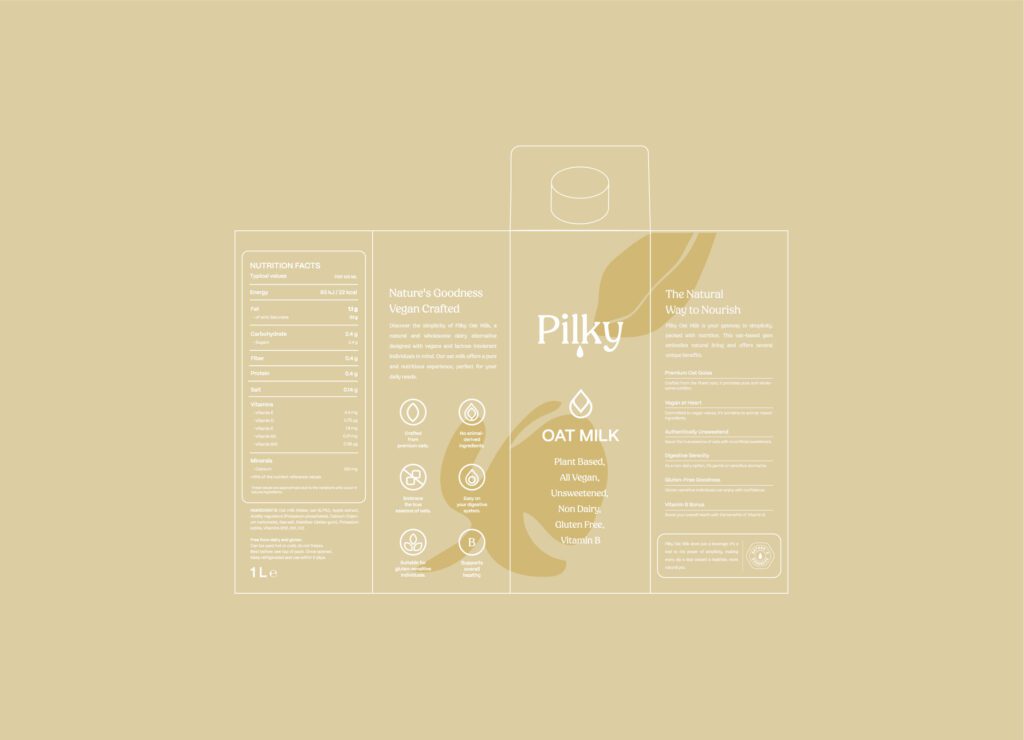
Ask for the dieline before the design is finished, and check 4 things when it arrives:
- It is the current version for your exact size and material.
- It opens at 100% scale.
- The cut, fold and glue lines sit on their own layer and are marked as non-printing.
- It shows the areas that must stay free of ink, such as glue flaps and the space for a date or batch code.
Two margins run along every cut line. Bleed is the extra artwork that continues past the cut, so a small shift on the cutter does not leave an unprinted edge. The safe area is the zone inside the cut and the folds where text and logos stay clear of the blade. Neither margin has one universal figure. Your printer’s specification sets the value, and it differs between a folding carton and a pouch. Packs sold from a freezer add their own conditions, covered in ice cream and frozen food packaging design.
Colour built for the press
A screen mixes light and a press mixes ink, so colour has to be specified in the terms the press uses. For offset printing those terms are published. ISO 12647-2:2013 sets process parameters for four-colour sheet-fed and web-fed offset presses, and its abstract says the standard “is applicable to printing on cardboard material for packaging”. The same abstract names 5 stages, from colour separation to production printing.
Ask your printer which printing condition the job will run to, and build the file for that condition. ISO lists the 2013 edition, which is edition 3, as due to be revised, with a committee draft under development, so ask which edition your printer works to as well.
Then go through the colours in the file one by one:
- Each brand colour is either a named spot ink or a process build, and the file says which.
- Small black text is set in 1 ink, so a slight shift between plates does not blur it.
- White ink, varnish and foil each sit on their own named layer.
Offset is one process among several. For flexo, gravure and digital presses, your printer’s specification is the reference. Our article on why a brand colour shifts in print explains the tolerance to agree before the first run.
Mandatory text at a legal size
The legal floor for type size depends on the product and the market, so name both before you measure anything.
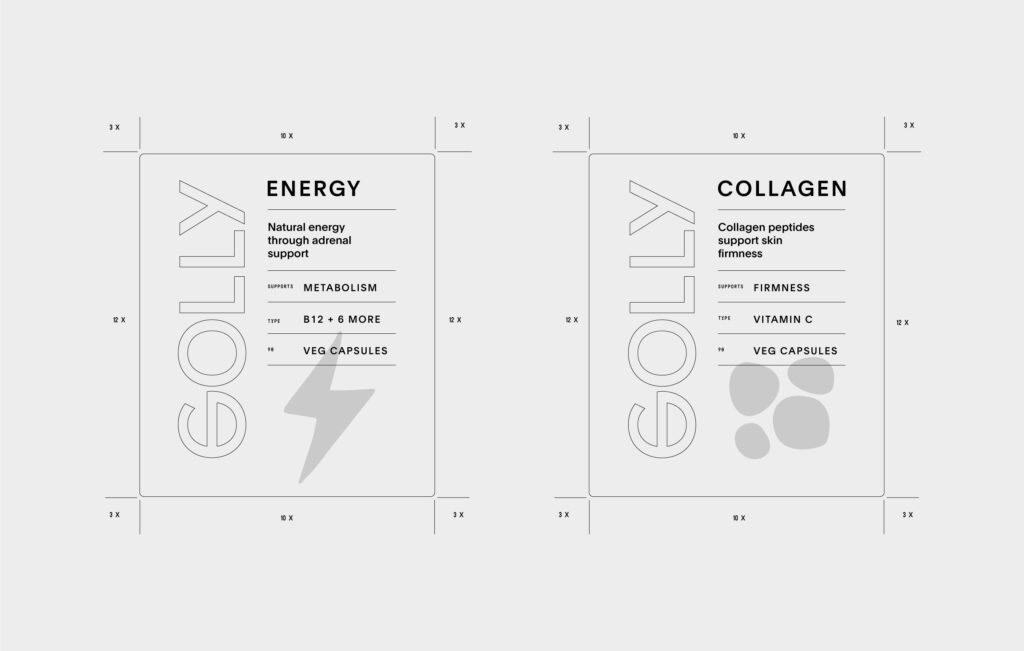
For food labels in the EU, Article 13 of Regulation (EU) No 1169/2011 sets the size by x-height. The mandatory particulars must be printed “in characters using a font size where the x-height, as defined in Annex IV, is equal to or greater than 1,2 mm”, which is 1.2 mm in English notation. Where the largest surface of the pack is under 80 cm2, the floor is 0.9 mm. The same article asks for information that is “easily visible, clearly legible and, where appropriate, indelible”.
For cosmetics sold in the United States, 21 CFR 701.12 covers one line of the label, the name and place of business. It says: “The statement of the place of business shall include the street address, city, State, and ZIP Code”. Plan room for the full address, and for a phrase such as Distributed by when another company makes the product.
ISO 24509:2019 gives a method for estimating the minimum legible font size “for single characters, but not for words or sentences”, and its abstract names product labels among the uses.
These are 2 rules from 2 markets. For other products and countries, check with your adviser before the text is set. Our guide to how small type can be on packaging covers the production floors that sit above the legal ones.
A barcode made at its final size
A barcode is read by a machine, and a failed scan has consequences. GS1 US warns that a code which does not scan may need manual keying of the number at the checkout and can lead to retailer charge-backs. Its guidance gives 4 rules that belong on a pre-press list.
Size comes first. The guidance says: “U.P.C. barcodes have a fixed relationship between barcode height and width.” Scaling the image is ruled out: “If you need to resize the barcode art, just re-create the barcode in the desired size.”
Position is second. For an item scanned at a checkout, GS1 US places the code in the lower right-hand section of the back of the pack, on a smooth surface. It adds: “Avoid the edge of the package, and allow enough white space surrounding the barcode to help to ensure a clean scan.”
Third, keep the quiet zone, which is the clear, unprinted area on the left and right sides of the bars. Fourth, print the bars in a single dark ink on a light background. GS1 US advises against red or brown bars, because scanners use red light.
In the file, confirm that the number under the bars belongs to this product and this variant. Our guide to barcode colours and size goes further into which colours fail and how small a code can go.
The PDF/X file, fonts and images
Printers ask for PDF/X because it is a PDF with rules about what has to be inside it. One version is PDF/X-4, described in ISO 15930-7. The abstract of the 2008 edition defines the name: “Where all elements necessary for final print reproduction are contained within the file it is designated as PDF/X-4.” For a packaging file that means the fonts and the images travel inside the PDF.
The abstract also says: “Colour-managed, CMYK, gray, RGB or spot colour data are supported, as are PDF transparency and optional content.” Spot inks and transparency can therefore stay in the file as designed.
ISO lists that 2008 edition, 27 pages long, as withdrawn and revised by ISO 15930-7:2010. Ask your printer which PDF/X version they want, and use their export settings if they supply them.
Before export, check 4 things:
- Fonts are embedded or converted to outlines.
- Every image is placed at or near 100%. For image resolution, your printer’s specification sets the value.
- The dieline layer is in the file and set so that it does not print.
- Layer names say what they hold: artwork, dieline, varnish, foil, white.
Keep the working files with the PDF. Who holds them after the project is a contract matter, which our article on who owns the logo and design files covers.
| Check | Source | What the source says |
|---|---|---|
| File format | ISO 15930-7:2008 (PDF/X-4), abstract | All elements necessary for final print reproduction are contained within the file |
| Colour data in the file | ISO 15930-7:2008 (PDF/X-4), abstract | Colour-managed, CMYK, gray, RGB or spot colour data are supported, as are PDF transparency and optional content |
| Offset press process | ISO 12647-2:2013, abstract | Parameters for four-colour sheet-fed and web-fed offset presses; applicable to printing on cardboard material for packaging |
| Food text size, EU | Regulation (EU) No 1169/2011, Article 13 | x-height of 1.2 mm or more; 0.9 mm or more where the largest surface is under 80 cm2 |
| Legibility of characters | ISO 24509:2019, abstract | A method for estimating minimum legible font size for single characters under varied viewing distance, luminance and contrast |
| Barcode size | GS1 US | Fixed relationship between height and width; re-create the barcode in the desired size |
| Barcode position | GS1 US | Lower right-hand section of the back of the package for an item scanned at checkout; away from the edge |
| Cosmetic label address, United States | 21 CFR 701.12 | Street address, city, State and ZIP Code |
The proof and the sign-off
A file counts as print-ready once someone has checked a proof of it and signed. The abstract of ISO 12647-2 lists proof production and the OK print as stages of their own, placed between colour separation and production printing.
Ask which proofs your printer offers and what each one shows. A PDF proof confirms content and position, and a printed colour proof shows colour under the agreed printing condition. A cut and folded sample on the real material shows whether the panels and the barcode land where the dieline says they should.
Read the proof in a fixed order, with 2 people where possible:
- Compare every line of mandatory text with the approved copy document, character by character.
- Measure the smallest type against the floor for your market.
- Scan the barcode on the printed proof.
- Check the variant name, the net quantity and the product code against your range list.
Sign once, in writing, and keep the signed proof with the file version it belongs to. Any change after sign-off produces a new file and a new proof.
Proof rounds take calendar time, and our article on how long a branding project takes explains what each stage waits on. Whether shoppers notice and understand the pack is a separate question, and our guide to testing packaging before launch describes 4 tests for it.
Working with MarkaWorks on production artwork
Packaging work at MarkaWorks starts with the structure, meaning the format, material, closure and production method. Those decisions set what the artwork can do and whose dieline it will be drawn on.
For a range, our systems fix the elements that repeat on every pack before the variants are drawn. When the information block sits in the same place on every pack, the type size check and the barcode check are worked out once and repeated across the range.
We have 17 food and drink case studies on our site. In our Cey Natural Foods case study, one line describes a choice that makes pre-press easier: “Typography was selected to support legibility and distinction across packaging formats.”
On a MarkaWorks project the production artwork is drawn on your production partner’s dieline and handed over together with the working files. Your printer’s specification sets the bleed, the safe area and the image resolution, and we build each file to it. The label wording is confirmed by your regulatory adviser before we lock the layout.
If you have a pack going to print, or a range that needs production files, we can take it on with you. Send us the dieline and your printer’s specification, and we will tell you how we would prepare the artwork.
Questions brand owners ask about print-ready packaging artwork
Which PDF format should packaging artwork be saved in?
Ask your printer first. One option is PDF/X-4, which ISO 15930-7 defines as a file where all elements necessary for final print reproduction are contained within the file. ISO lists the 2008 edition as withdrawn and revised by a 2010 edition, so confirm the version your printer wants.
How much bleed does packaging artwork need?
Your printer’s specification sets the value. Bleed and safe area depend on the press, the cutting method and the material, so the figure for a folding carton can differ from the figure for a pouch. Ask for both numbers together with the dieline, before the artwork is finished.
How small can mandatory text be on a food pack in the EU?
Article 13 of Regulation (EU) No 1169/2011 requires an x-height of 1.2 mm or more for the mandatory particulars. Where the largest surface of the pack has an area of less than 80 cm2, the x-height must be 0.9 mm or more.
Can a barcode be scaled down to fit the layout?
No. GS1 US says U.P.C. barcodes have a fixed relationship between height and width, and that the art should not be shrunk or enlarged because it may not scan correctly. If a different size is needed, re-create the barcode in that size.
More brands we brought to life: